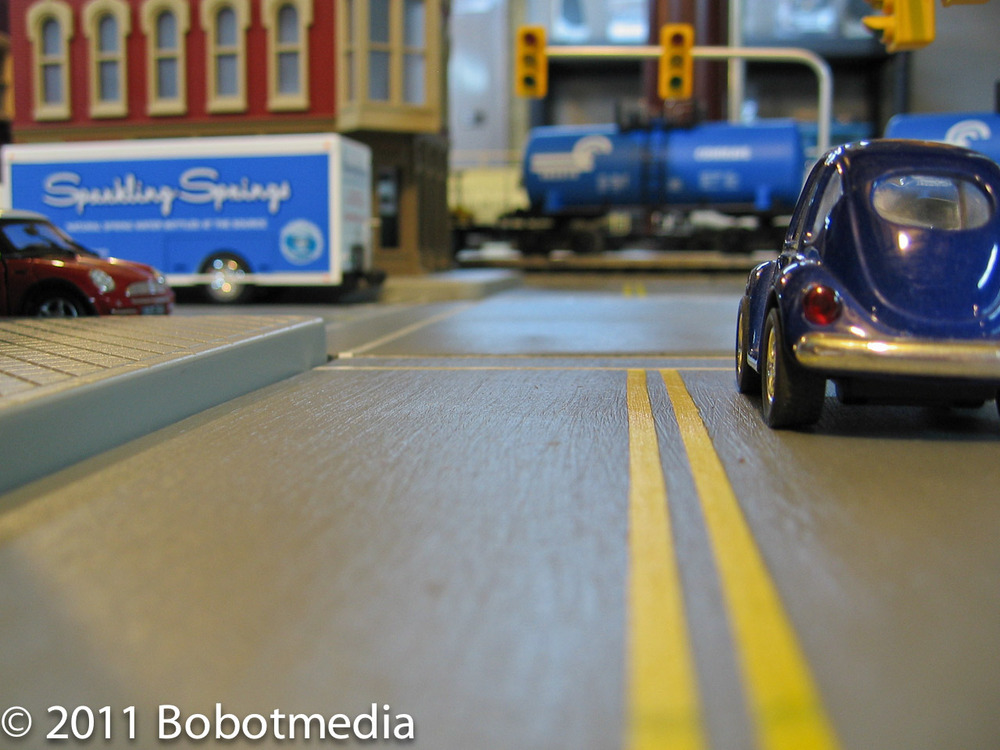
This was my first attempt at making roads for my model railroad. After considerable research and a failed attempt or two, I found a system that works for me.
You will need the following supplies: 1/8″ masonite or 1/8″ foam core, Gesso canvas primer, heavy body acrylic paints in yellow and gray, 1/8″ art tape (any color), 1/8″ white auto pin striping, and foam brushes. Art stores like AC Moore have everything except masonite and pin striping.
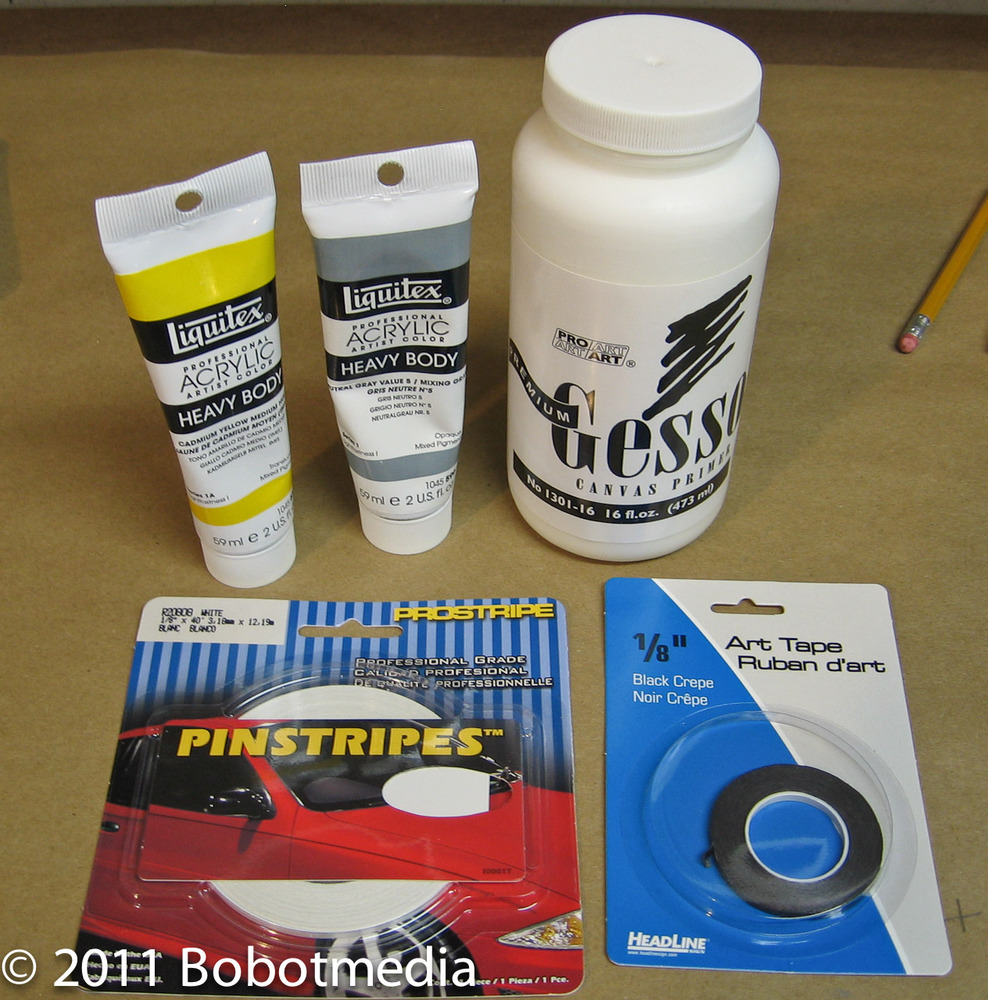
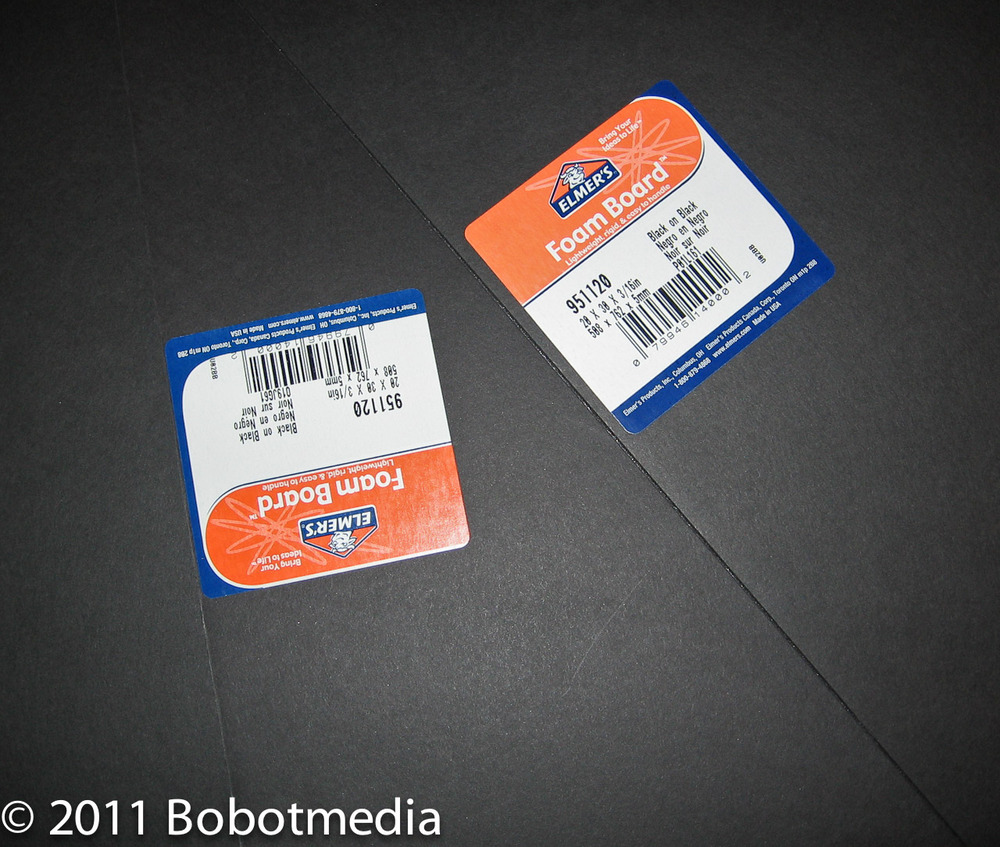
I made one road using masonite as the base and others using black foam core. The masonite is obviously more rigid but causes more mess when cutting. Cut masonite with a circular saw and foam core with an Xacto knife. I went with 2½” driving lane widths and 2″ parking space widths for my O-scale layout. My crosswalks were about 1″ wide and my parking spaces were about 5″ long each.
It is recommended to prepare and prime the surface using Gesso, a canvas primer which is similar to thick white paint and dries very quickly. If using foam core be sure to prime both sides or it will warp. Wait for the Gesso to dry completely.
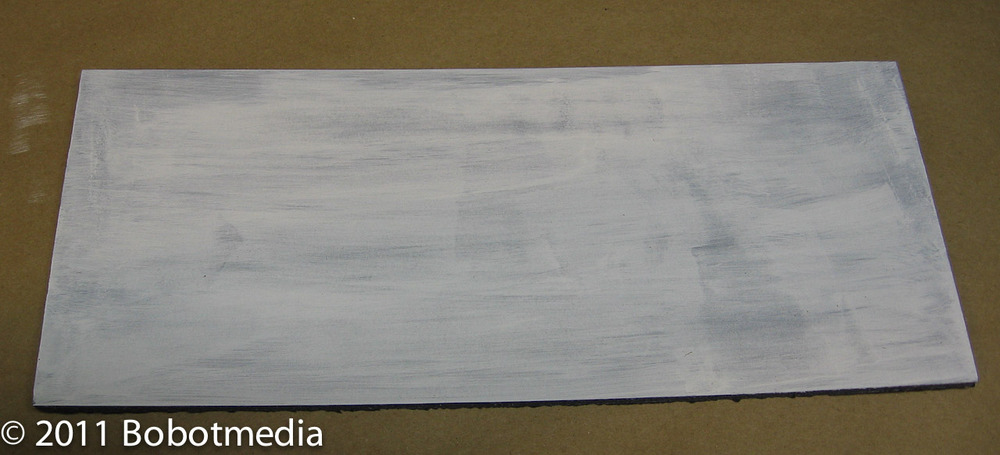
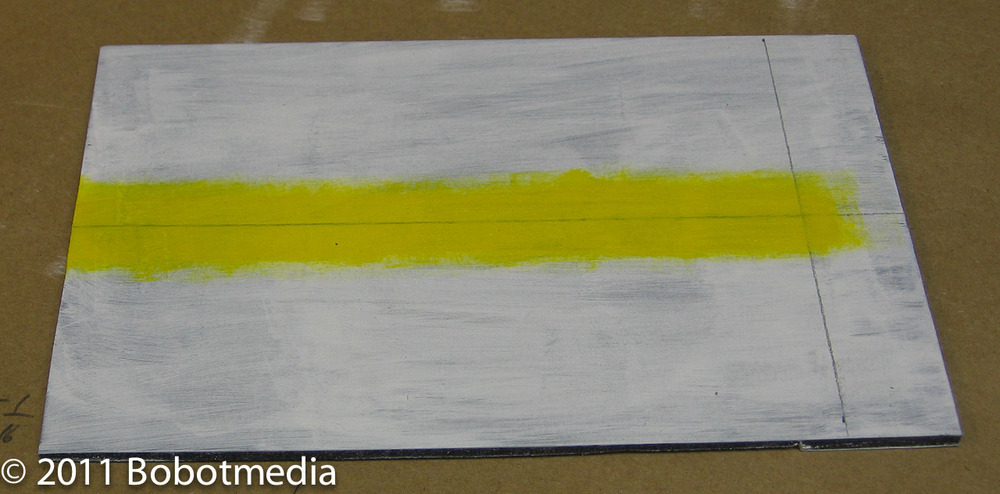
Figure out where your yellow line and crosswalks will be and mark them lightly with a pencil on the primed base. For a double yellow line simply draw one light pencil line down the center of the road. Using the foam brush and yellow heavy body acrylic paint, paint a 1″ to 1½” wide bar of yellow over the center pencil line. Wait until the yellow paint dries completely. This is very important because you will be applying art tape over the yellow paint in the next step and if it is not dry it will pull up the paint and ruin your line.
When the yellow paint is completely dry, run a piece of 1/8″ art tape down the center of the road. Now run another 1/8″ piece of art tape alongside the first one. Next run another piece of 1/8″ art tape along the center piece on the other side of the road. Now carefully pull up the first piece of art tape you laid (the center one), leaving the other pieces of tape as a mask for your double yellow line. Unfortunately I do not have a photo of this step, but your project should look like the above photo with two pieces of art tape on the yellow paint masking your double yellow line.
Now carefully paint over the entire board including the yellow paint and art tape with the gray acrylic paint using a larger foam brush. Use lighter strokes to smooth the surface. Use just enough paint to get a complete coverage.
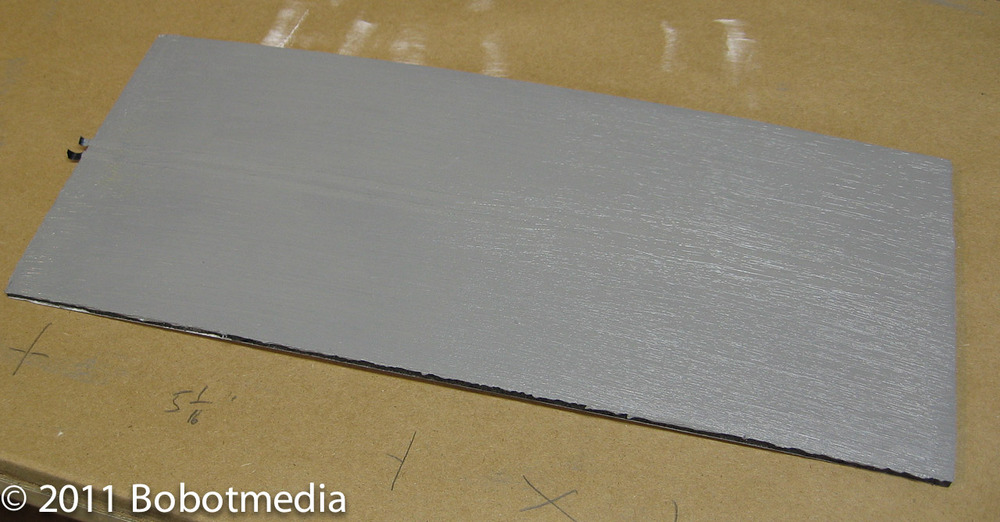
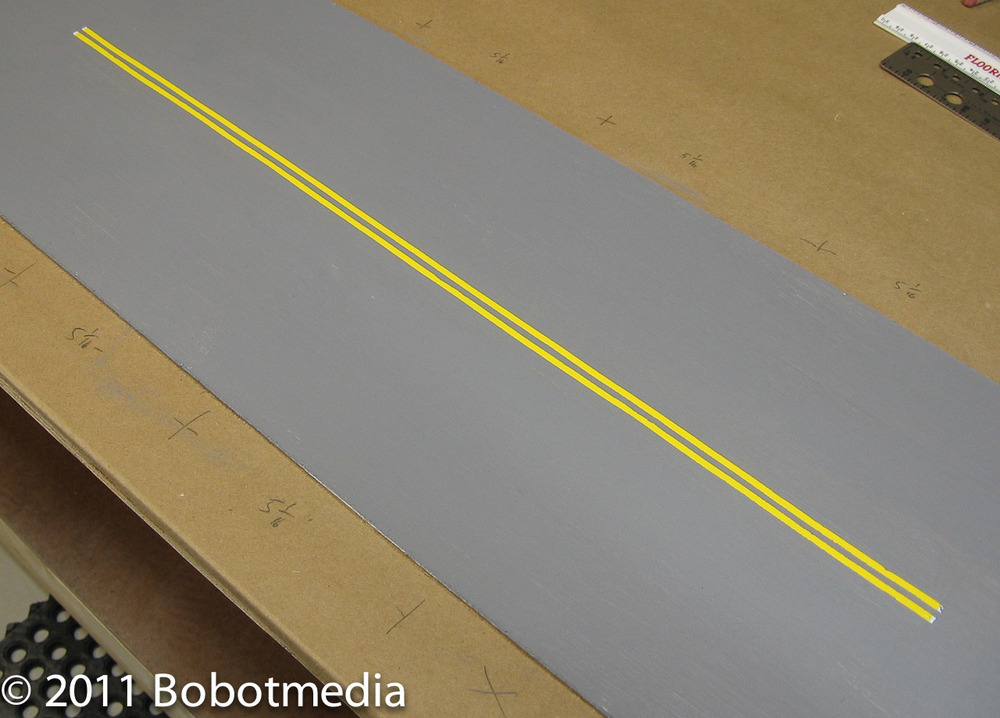
Wait for the gray paint to dry to the touch then carefully dig up the end of the art tape with an Xacto knife and peel back at an angle from the center slowly, revealing your yellow paint underneath. You should end up with something like this:
Mark your crosswalks and parking space lines very lightly with a pencil. Cover your pencil marks using the 1/8″ white auto pinstripe. I left my pinstripes a little longer and wrap them around the edge and underneath the road base.
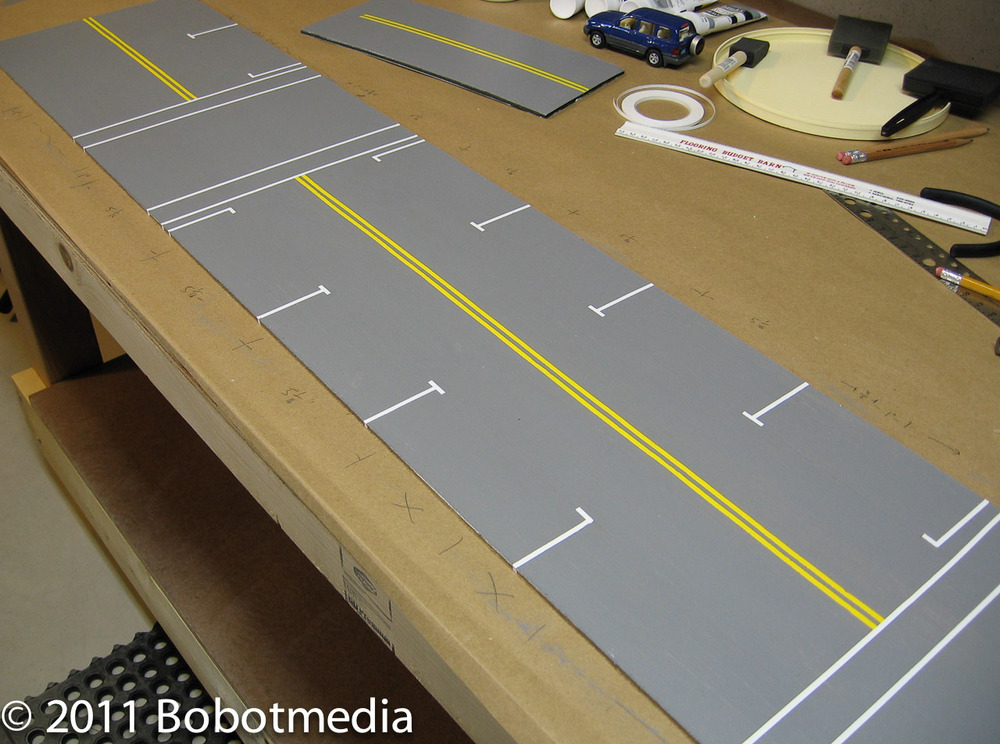
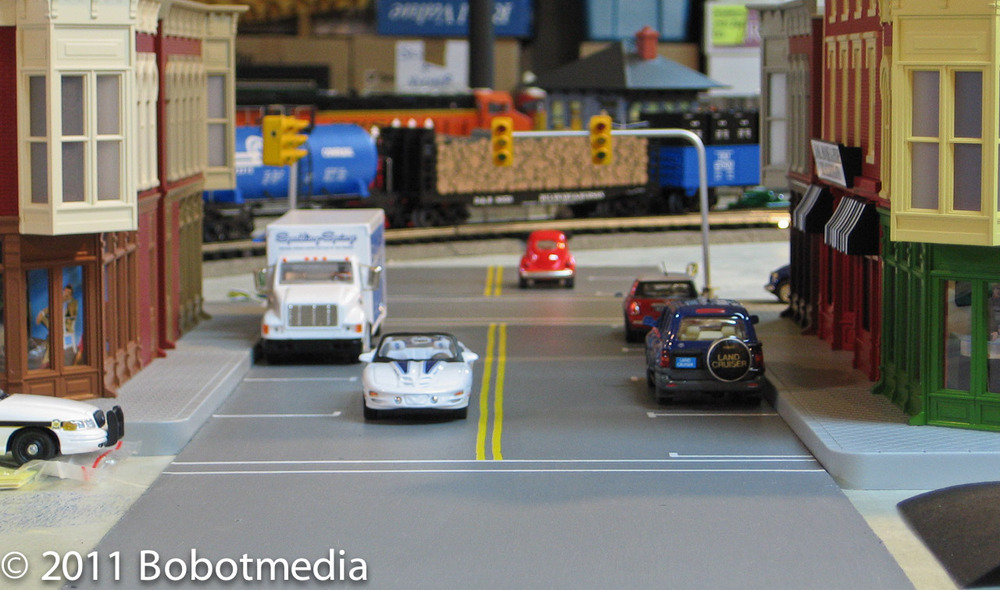
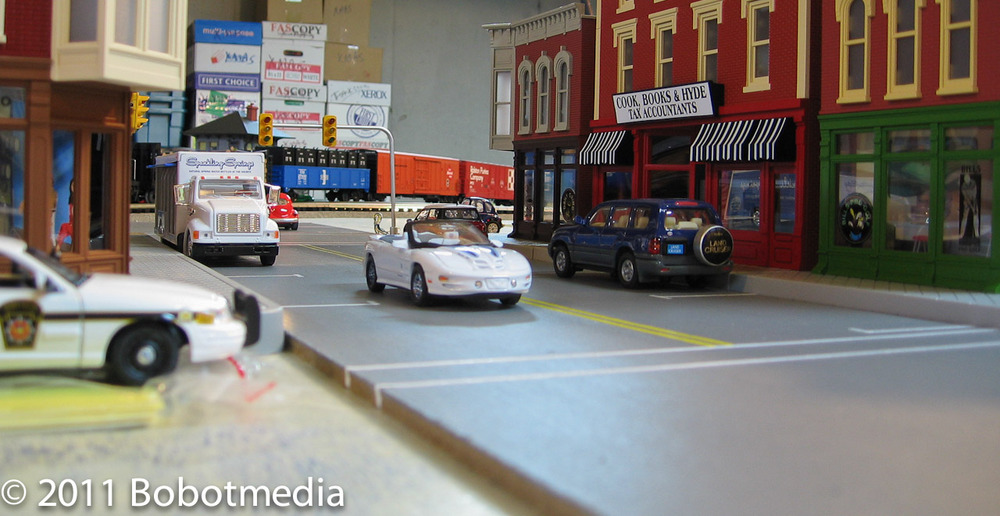
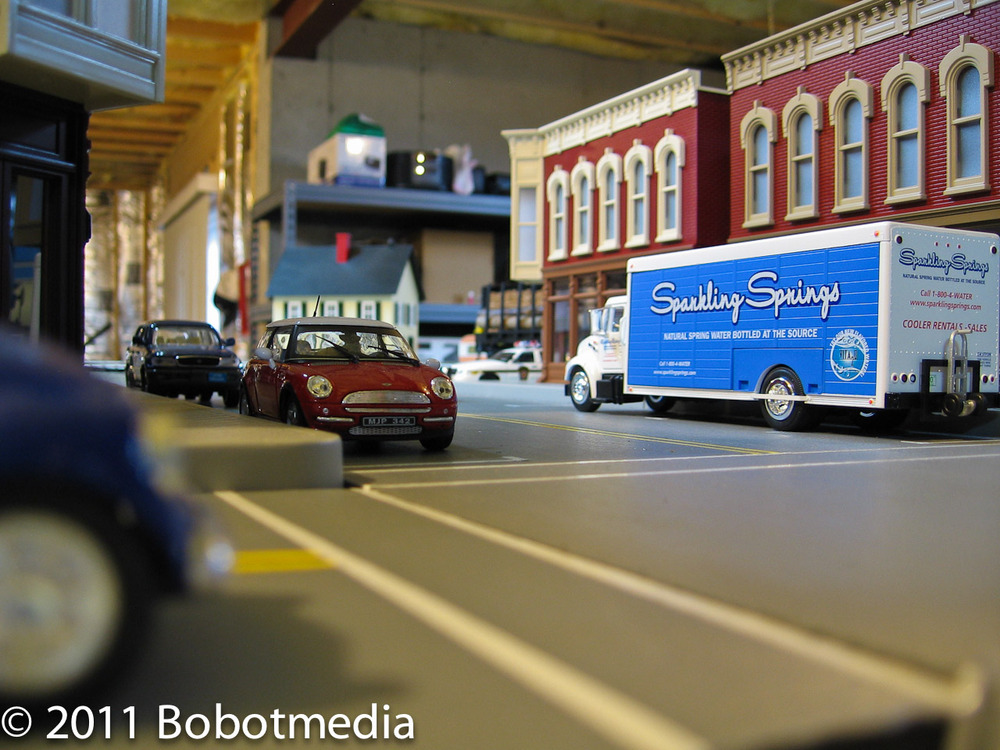
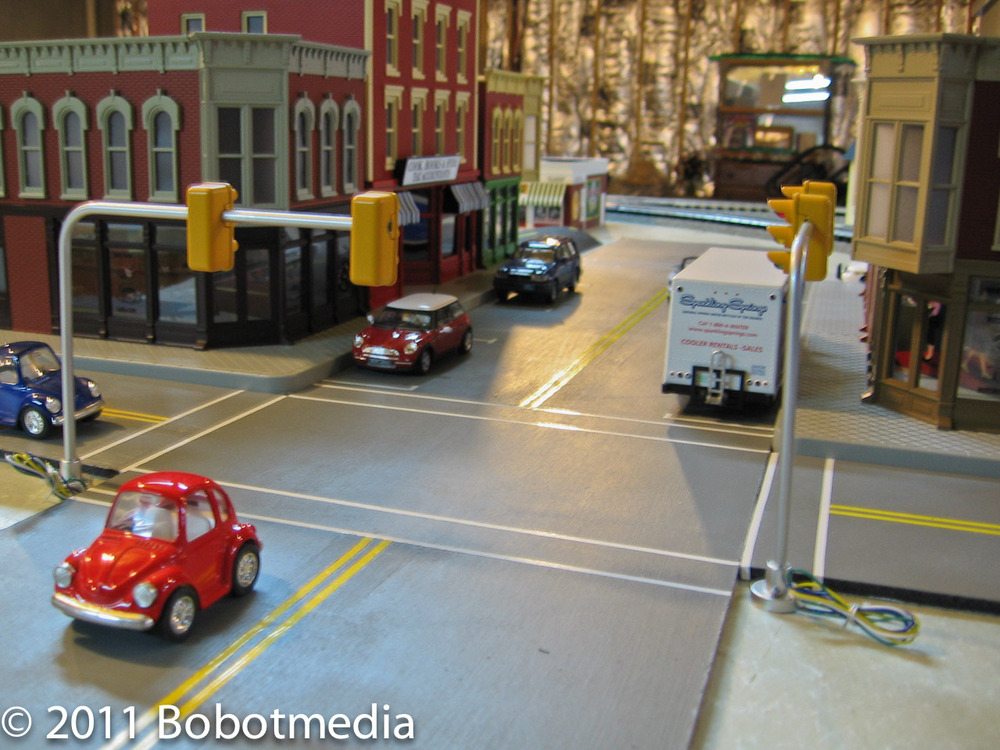
Here are a couple quick shots after I laid my road on my layout. I just tossed a couple cars and buildings in there to get an idea, but this is nowhere near being the complete project.
Overall, this was a pretty simple process once I figured it out. The acrylic paints are relatively expensive, but the paints go a long way and do not generate the fumes and overspray that spray paint does. Foam core is a bit expensive too, but cutting is much cleaner and easier than masonite with the end product much lighter and easier to locate.
