Tag: 1st Model Railroad Layout
-
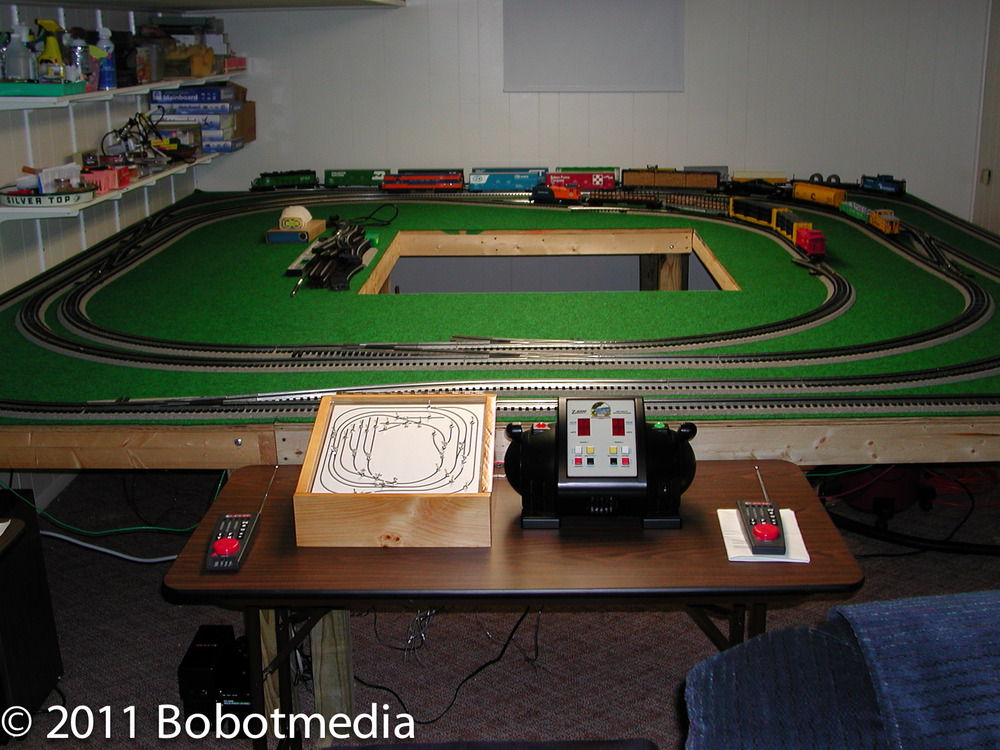
The End of the Line
The next year I finished the yard and all switches were wired, started adding a town area, and learned yet another lesson…running trains in a circle is somewhat monotonous. You need to leave a lot of space for scenery. The layout was disassembled in August 2004.
-
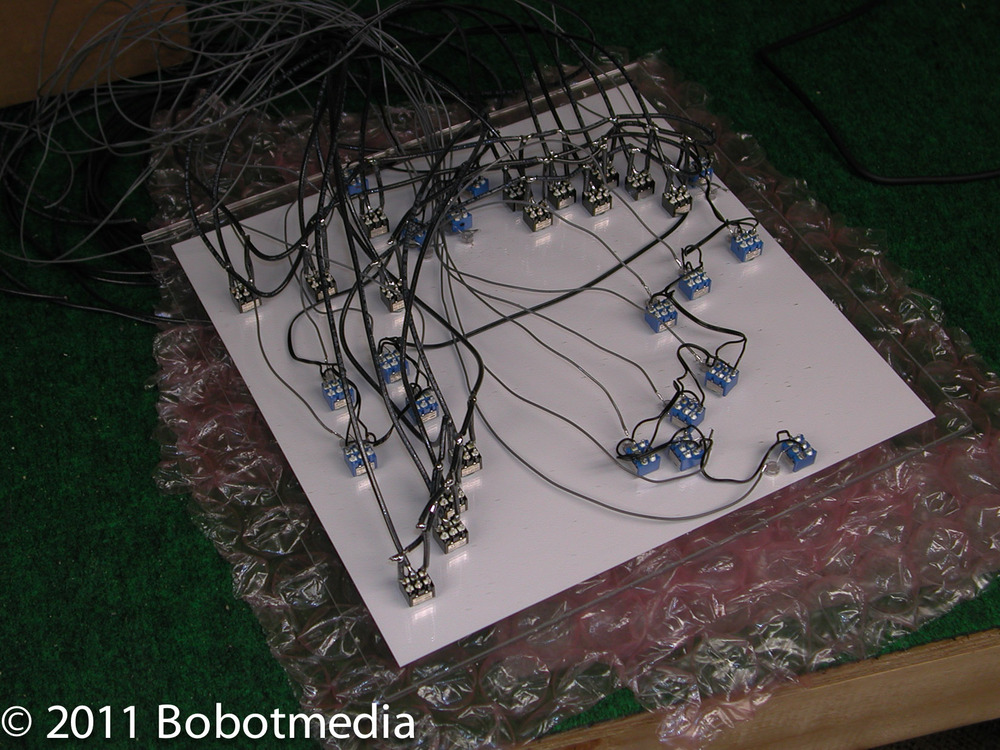
New layout electronics, wiring, and control panel
And I really got into the electronics and wiring this time, including TMCC. Ross switches are operated by Tortoise slow-motion switch machines mounted under the table.There are 4 power drops for each main loop, which provides a power drop every 6-7 track joints throughout the layout. A common 12-gauge ground bus wire was run under…
-
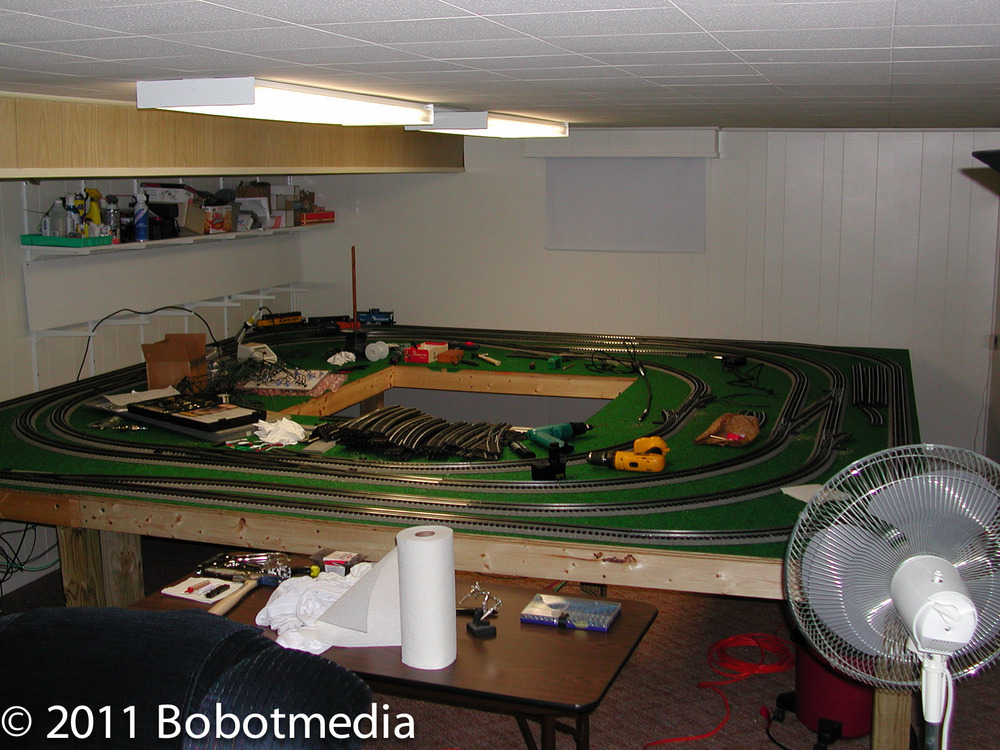
ACT II
So I took a break for a year or two and studied up. The new layout begins… The 12’x12′ basement layout was constructed using 2×4 framing and 3/4″ plywood covered with indoor/outdoor carpeting with 4×4 pressure-treated legs. The layout will have (3) connected mains, a passing siding on main 1, (6) dog-leg sidings to park…
-
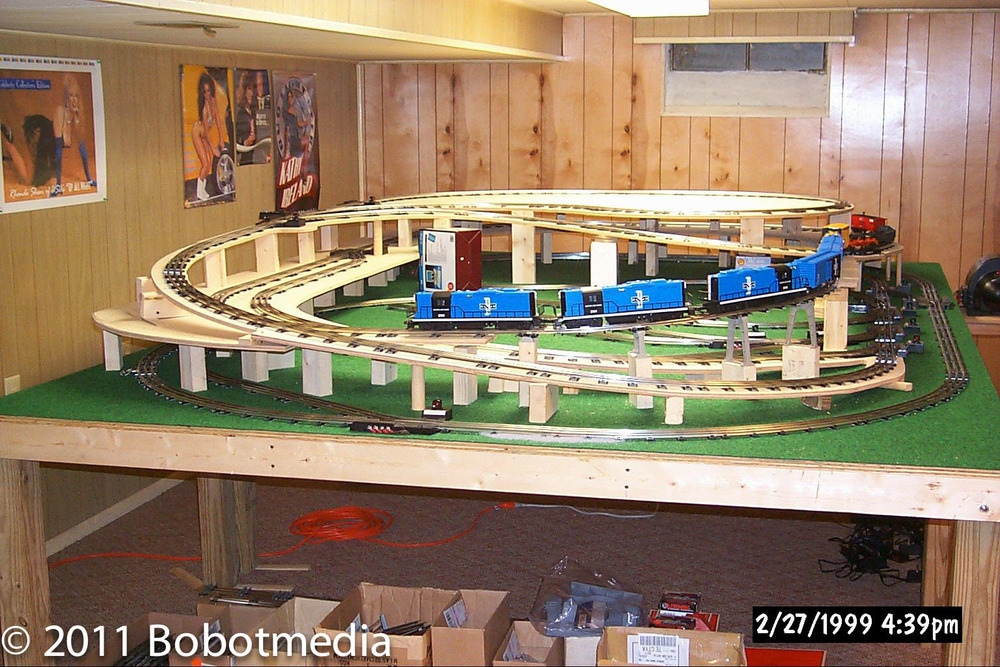
Et tu, Magnetraction?
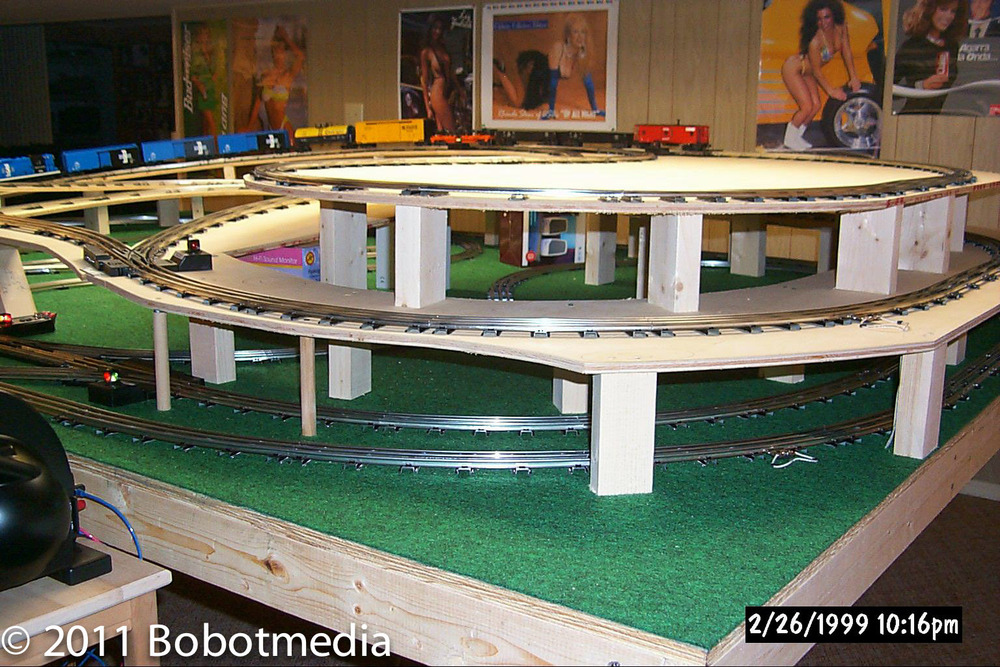
And so finally realizing that even Magnetraction wasn’t going to make a locomotive climb a 25% grade effectively, I decided I better stop and re-think this whole thing
-
-
Act I
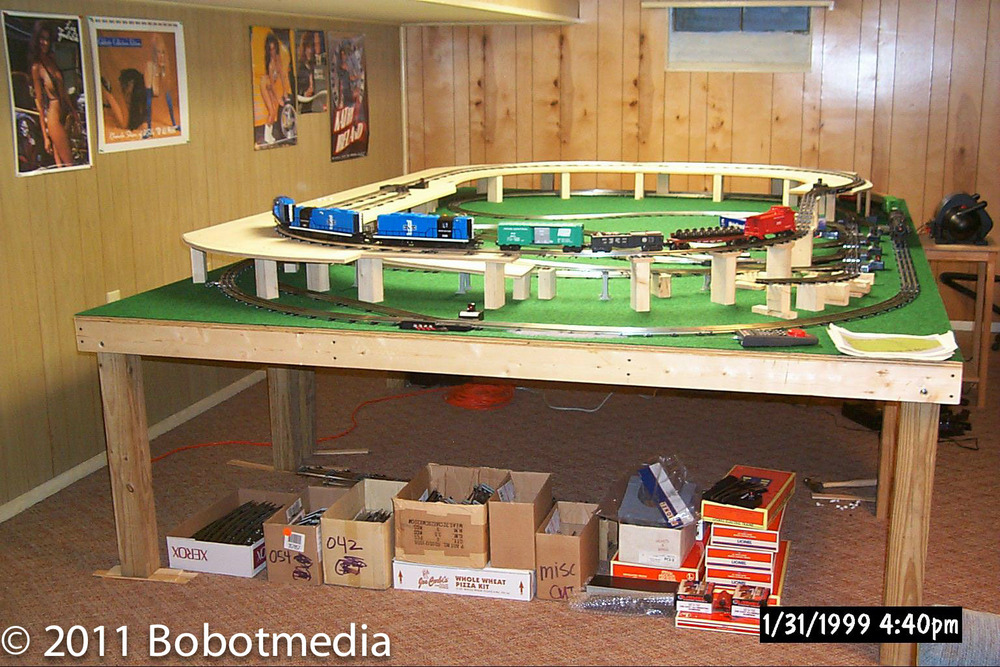
Determined and not letting my lack of knowledge stop me, I forged on doing some really stupid things…
-
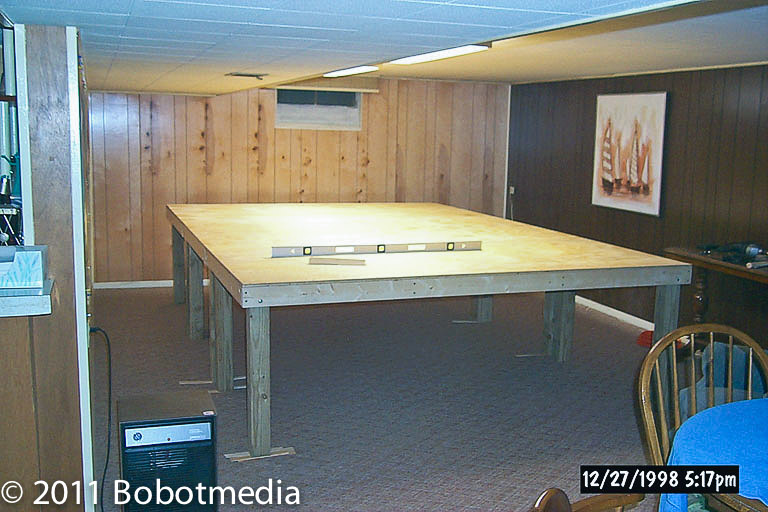
To the basement…
Within a month, with only a few weeks of studying the OGR forum for knowledge and little skill, to the basement I went…
-
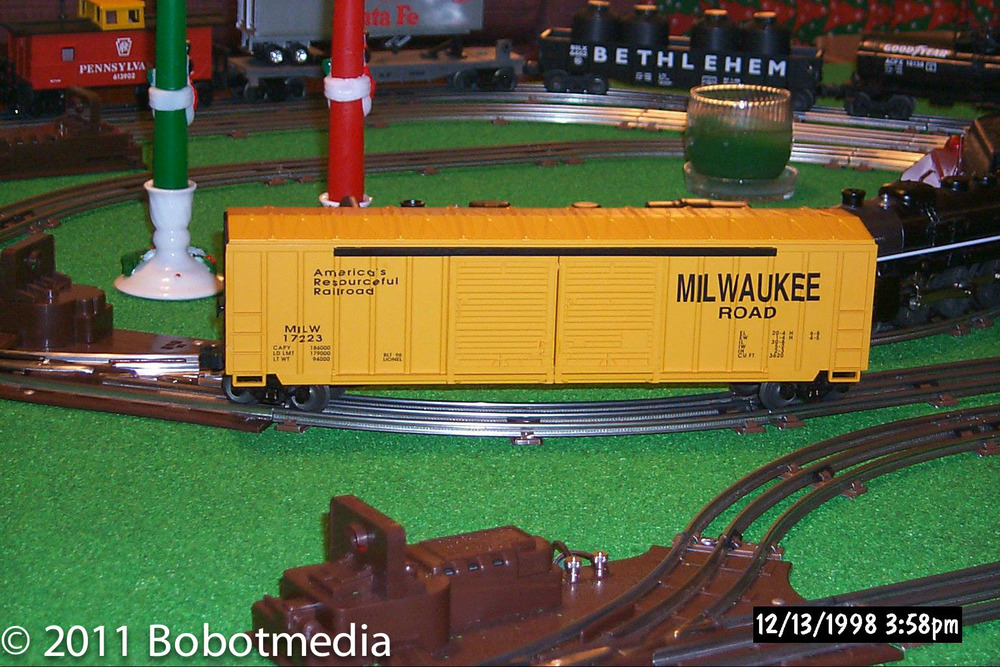
I found I liked "scale" size
I took a quick liking to the full O-Scale size instead of O-27 (semi-scale), but soon found out you don’t run O-Scale rolling stock on O-27 switches!
-
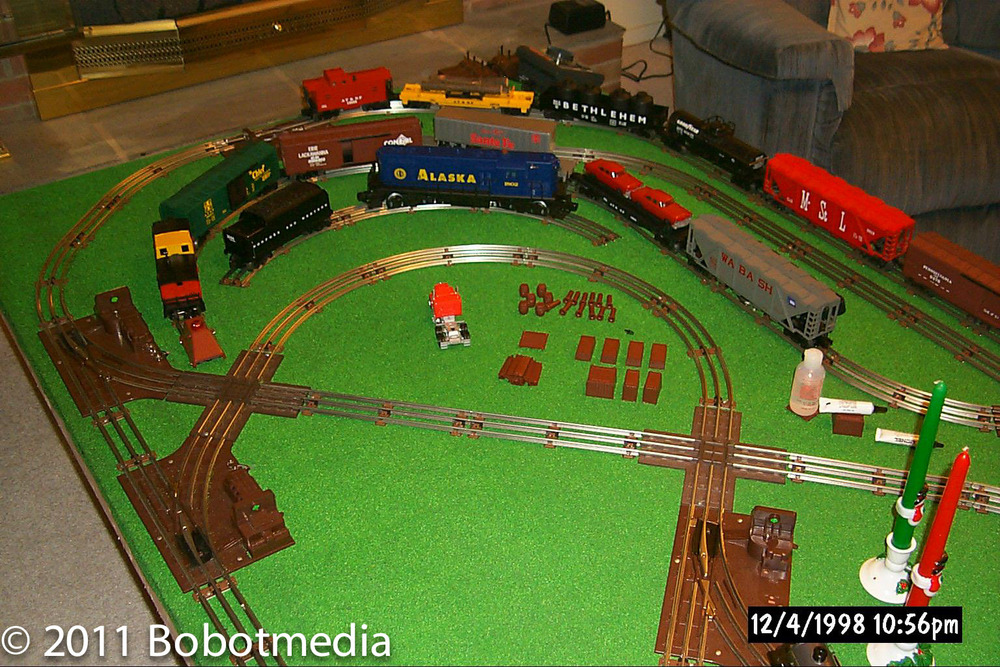
When it all started…December 1998
I just wanted a simple Lionel Train around the Christmas tree to re-capture my youth
